
Access Denied
IMPORTANT! If you’re a store owner, please make sure you have Customer accounts enabled in your Store Admin, as you have customer based locks set up with EasyLockdown app. Enable Customer Accounts
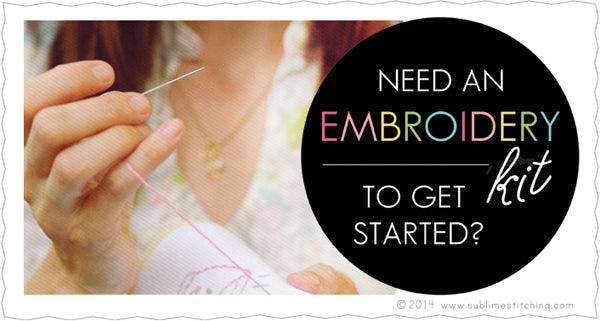
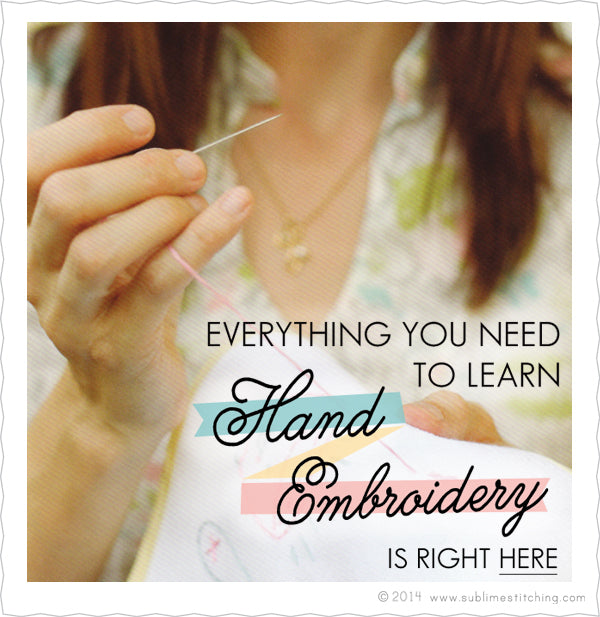
Hand Embroidery Tutorials
by Jenny Hart
Want to learn hand embroidery? Who has the time? You do. I know it sounds painstaking, time-consuming and intimidating. Whatever. This is a deceptively simple craft. Embroidery is easy, relaxing, and one of the least expensive hobbies you can take up. My instructions aren't quite the same as others, like my Fool-Proof French Knot. YOU CAN DO THIS. So, let's do this...
Basic Tools for Hand Embroidery:

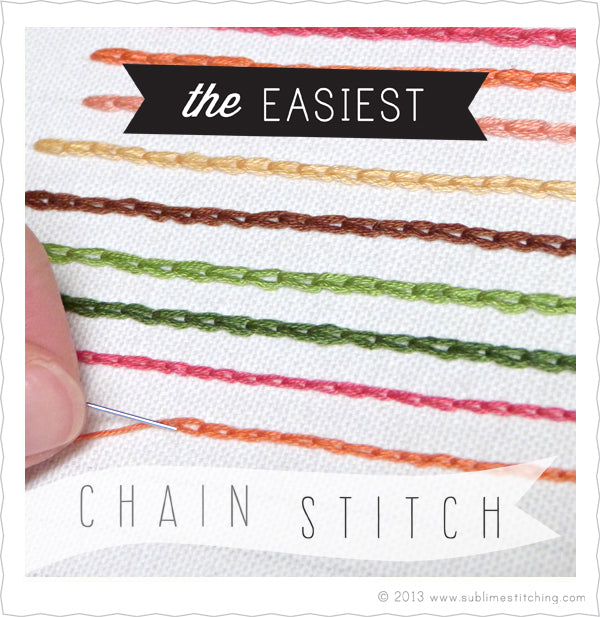
Three Simple Stitches for Hand Embroidery:

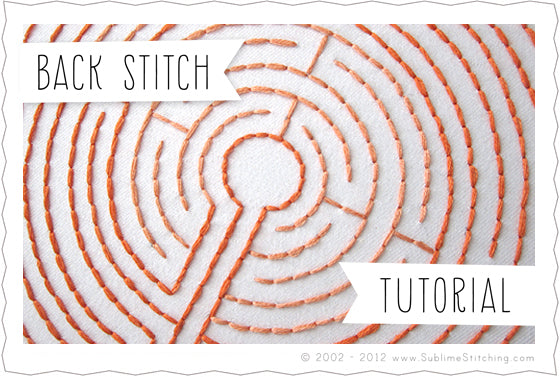

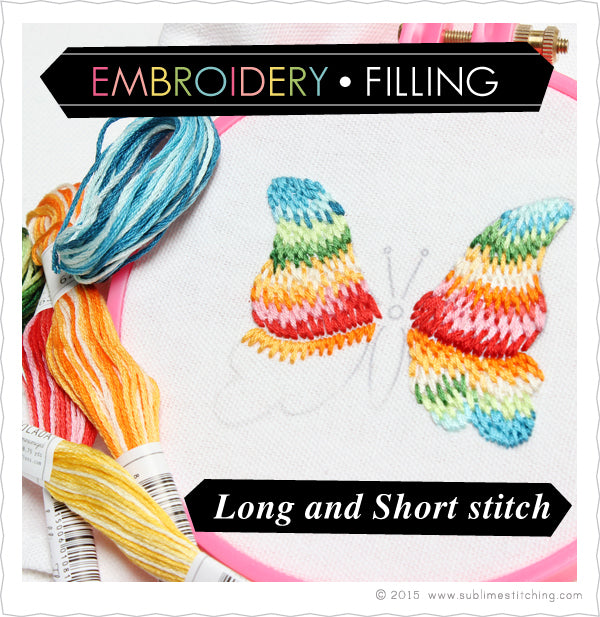
More Stitches for Hand Embroidery:


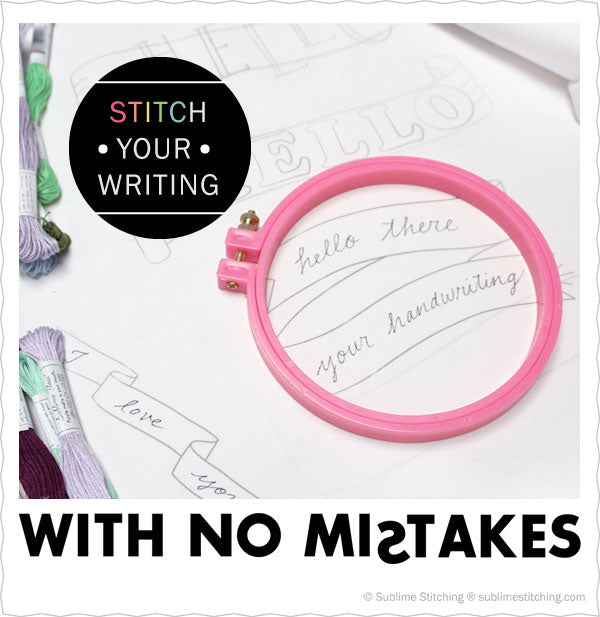
Tricks & Techniques:


How-To: Dark Fabrics Part 1
How-To: Dark or Stretchy Fabrics Part 2

Invalid password
Enter


