Access Denied
IMPORTANT! If you’re a store owner, please make sure you have Customer accounts enabled in your Store Admin, as you have customer based locks set up with EasyLockdown app. Enable Customer Accounts


1
/
of
8
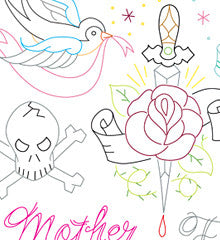
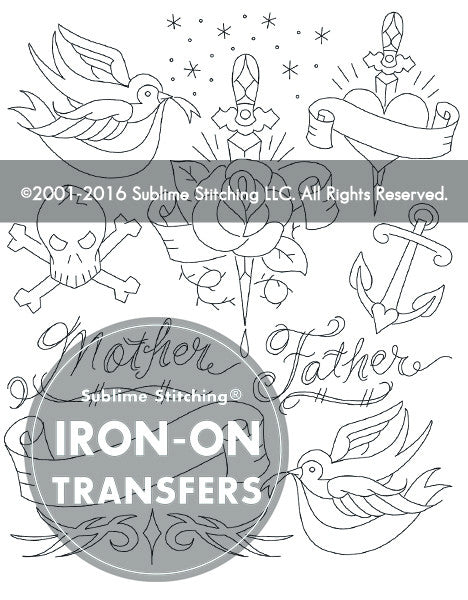
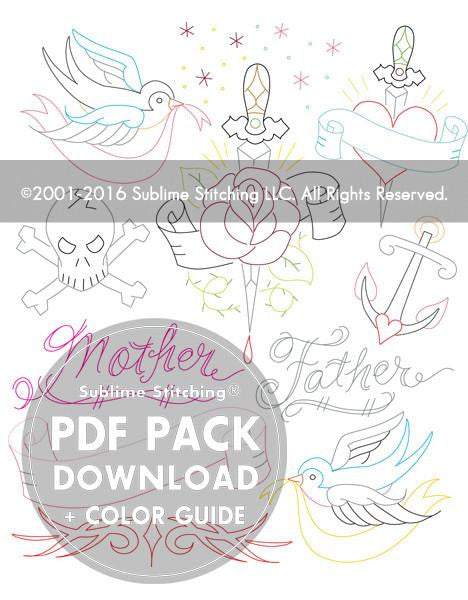
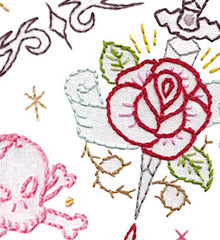
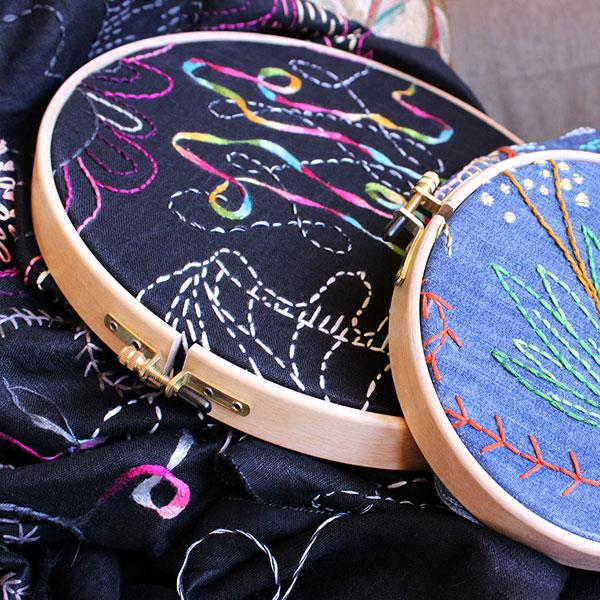
TATTOO YOUR TOWELS - 3 Themes Embroidery Patterns
TATTOO YOUR TOWELS - 3 Themes Embroidery Patterns
Regular price
$10.00 USD
Regular price
Sale price
$10.00 USD
Shipping calculated at checkout.
Quantity
Couldn't load pickup availability
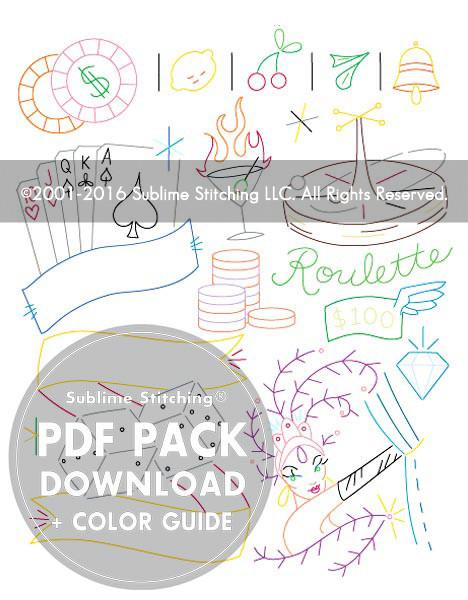
Themes included in this bundle:
- Tattoo Your Towels
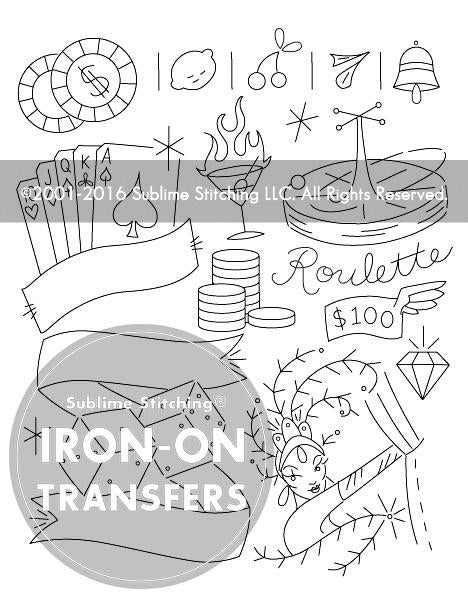
- Viva Las Vegas
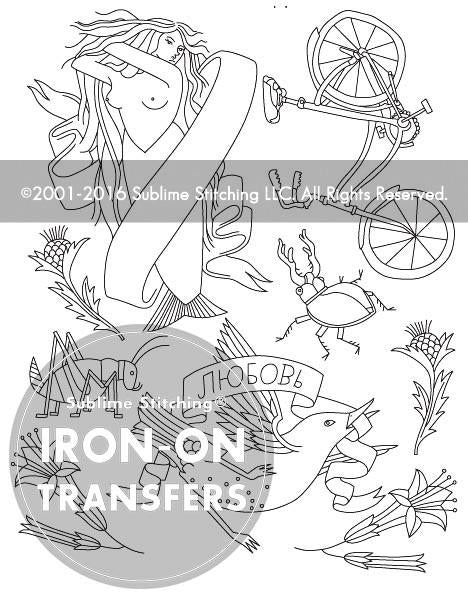
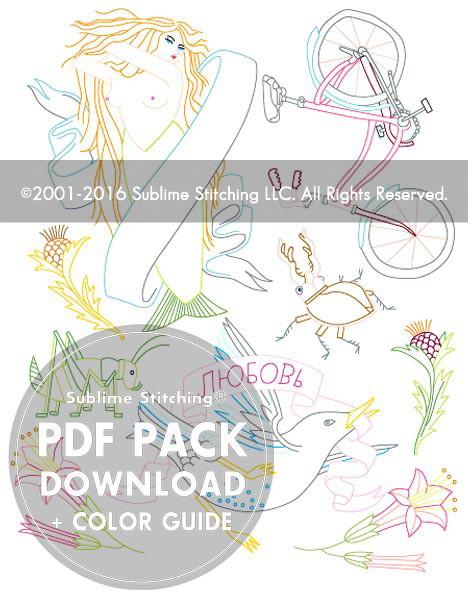
- Carson Ellis for Sublime Stitching
Choose iron-on transfers with downloadable PDF + COLOR guides, or get the PDF format alone. (You will need supplies for tracing and transferring when using a PDF printout.)
Each set of iron-ons appears on an 8 1/2" x 11" sheet and includes complete instructions for how to transfer the designs onto fabric. I've also included a quick embroidery how-to! All designs are shown.
Find more info about my embroidery patterns here!
View full details


Your purchase
When you shop with Sublime Stitching, you not only support an independent craft and design studio, your purchase helps support multiple, charitable organizations. Learn more
Invalid password
Enter


